Injection molding machine maintenance
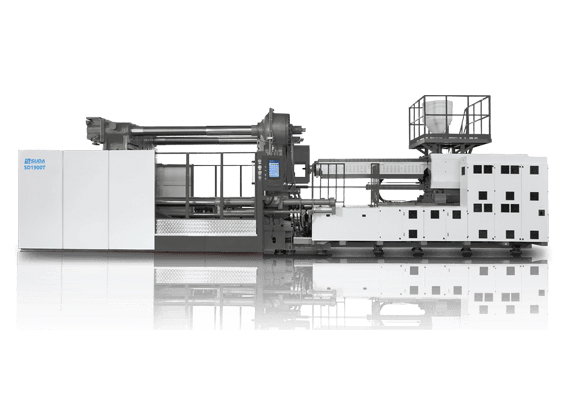
Injection molding machine is also known as injection molding machine or injection molding machine. It is the main molding equipment for making thermoplastics or thermosetting plastics into various shapes of plastic products using plastic molding dies. Divided into vertical, horizontal, all-electric. The injection molding machine heats the plastic, applying high pressure to the molten plastic so that it is ejected to fill the mold cavity.
1. After the injection molding machine motor is started, the pressure gauge has pressure
Approach:
(1): The amplifier board is broken. Use a multimeter to test whether there is current passing through, and repair the amplifier board.
(2): The overflow valve is stuck. Remove the overflow valve for inspection and clean the overflow valve.
2. After the injection molding machine is turned on for a period of time, the oil pump makes a loud noise.
Approach:
(1): The quality of the oil suction pipe is not good. Remove the filter and check for deformation. Whether the oil suction pipe is layered. Replace oil pipe and filter.
(2): The filter is not clean. Whether there are too many impurities in the hydraulic oil. Clean the filter.
(3): Oil pump wear: Check the oil distribution plate of the oil pump and the end face of the rotor. Replace oil pump.
3. Crawling fault handling of injection molding machine
Causes:
(1): Poor lubrication conditions. A "pause-glide-pause" appears. Increase the amount of lubrication.
(2): The system is immersed in air. Exhaust is required.
(3): The reason for mechanical rigidity. Parts wear and deform, causing changes in friction and crawling. Replacement parts.
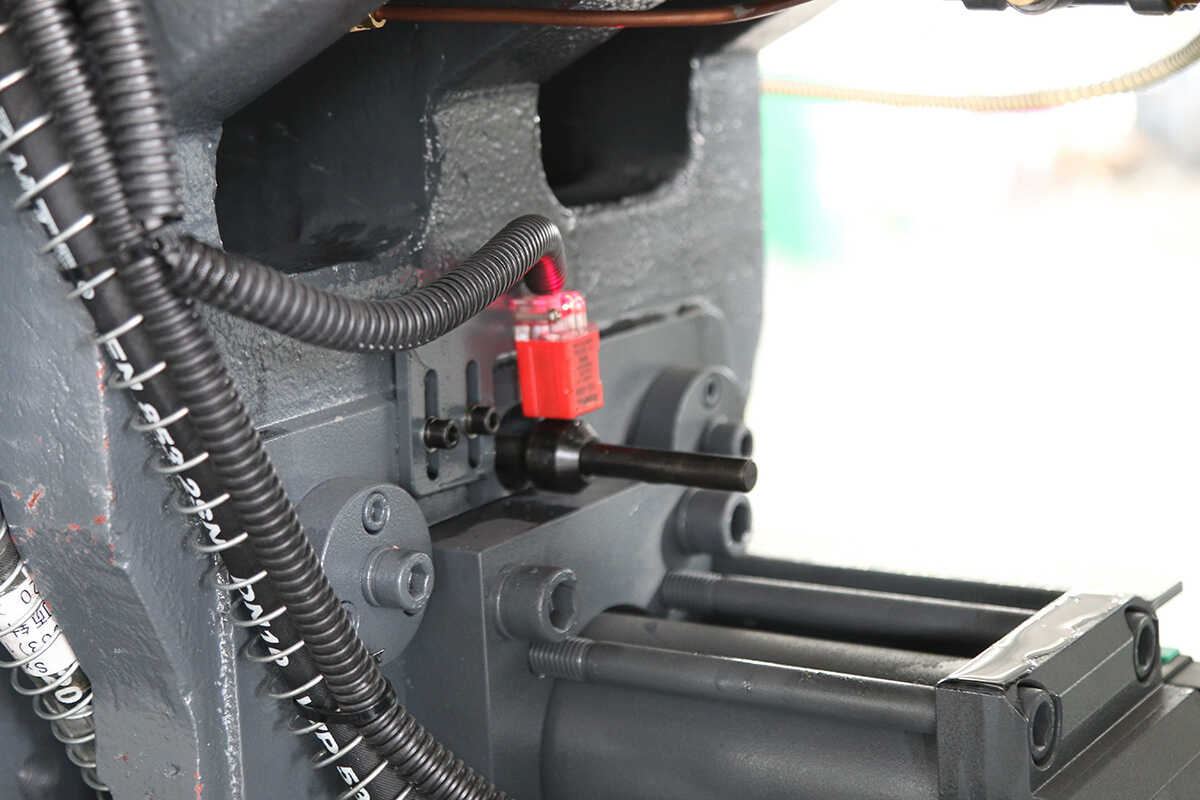
4. Analysis of the causes of hydraulic oil pollution in injection molding machines
Causes oil pollution:
(1): Air is mixed into the oil. The main feast is not well sealed due to the poor tightness of pipe joints, hydraulic pumps, and hydraulic cylinders. It is manifested in the presence of air bubbles on the fuel tank.
(2): Water is mixed into the oil. Will turn the oil into a milky white. Main dinner cause cooler leaking.
(3): Solid impurities are mixed into the oil. Mainly chips, welding slag, rust flakes and metal powder.
(4): A colloidal substance is produced in the oil. The main feast is that the seal is eroded by the oil or the oil is deteriorated, resulting in a jelly-like substance in the oil, which often blocks the small holes.
5. Troubleshooting of loud noise when the injection molding machine opens the mold
Approach:
(1): The proportional linearity is poor, the position of the mold opening and closing time is poorly adjusted, check the ramp up and down of the amplifying board, adjust the ramp up and down of the amplifying board, and adjust the time appropriately.
(2): The clamping machine hinge is poorly lubricated, check the Colin column, the sliding foot of the second plate, and the lubrication of the machine hinge, and increase the lubrication.
(3): The clamping force of the mold is too large, check the clamping force when the mold is stressed, and reduce the clamping force according to the user's product.
(4): The deviation of the parallelism of the head and the second plate, check the parallelism of the head and the second plate. Adjust the parallel error of the second board and the head board.
(5): The position of the mold opening at a slow speed is too small and the speed is too fast. Check whether the position of slow mold opening to fast mold opening is appropriate, and whether the slow mold opening speed is too fast. Lengthen the slow mold opening position and reduce the slow mold opening speed.
6. Troubleshooting of the out-of-control thimble when the injection molding machine is semi-automatic
Approach:
(1): The ejector board is broken, check whether the circuit is normal, the normal voltage is DV24V. Repair the thimble plate.
(2): The wire is broken, check the connection wire of the switch and the connection wire of the I/O board in an all-round way. Check wiring, rewire
7. Troubleshooting of injection molding machine without thimble action
Approach:
(1): The limit switch of the thimble is broken, check the DC24V line with a multimeter. Replace the thimble limit switch.
(2): Card valve, use a hexagonal key to press the thimble valve core to see if it can move, clean the pressure valve
(3): The limit rod of the thimble is broken. After the machine stops, take out the limit rod by hand and replace the limit rod.
(4): The thimble switch is short-circuited, use a multimeter to check the 0 voltage of the thimble switch to the ground, and replace the thimble switch.
8. Manual mold-opening termination, semi-automatic mold-opening termination failure processing
Approach:
(1): The mold opening valve leaks. After the manual shooting table, observe that the second plate retreats quickly and replace the mold opening valve.
(2): The ramp-up and ramp-down adjustment of the magnifying board is improper, check the magnifying slope for a long time, and re-adjust the ramping time of the magnifying board.
9. The injection molding machine cannot clamp the high pressure, and the out-of-stroke troubleshooting
Approach:
(1): The limit switch exceeds the limit, check whether the mold adjustment is appropriate, and adjust the appropriate mold thickness.
(2): If the hydraulic limit exceeds the stroke, check whether the mold adjustment is appropriate, and adjust the mold forward appropriately.
10. Troubleshooting of poor mold clamping of injection molding machine
Approach:
(1): The A and B holes are not properly adjusted. When the system flow rate is set to 20 and the pressure is 99, observe whether the clamping action is crawling and readjust.
(2): There is air in the oil circuit, listen to the sound of air in the oil circuit, and need to exhaust.
(3): The ramp-up and ramp-down adjustment of the amplifying board is improper, observe whether the current value of the ammeter is consistent with the rising and falling speed, and adjust the amplifying board.
11. When the injection molding machine locks the mold, only the mold opening action is faulty
Approach:
(1): Connect the wrong wire, check whether there is 24VDC to the valve, check the wire and connect it.
(2): The valve is stuck or the wrong valve core is installed, check whether the valve core is wrongly installed or blocked, re-install the valve core or clean it.
12. Troubleshooting of the mold opening slowly when the injection molding machine is fully automatic
Approach:
(1): The oil plate is leaking, check or replace the express clamping valve, and replace the oil plate.
(2): The mold opening valve leaks, start the oil pump to lock the mold, press the injection table or glue injection action, check whether the second plate moves backward, and replace the mold opening oil valve.
13. The automatic mold adjustment of the injection molding machine is getting tighter or looser
Approach:
(1): Internal leakage of the mold adjusting solenoid valve, check whether the solenoid valve is "O" type, model 4WE6E or 0810092101, and replace the solenoid valve.
14. Crawling treatment of mold opening and locking of injection molding machine
Approach:
(1): The second plate guide rail and the Colin column are worn out, check the second plate guide rail and Colin column, replace the second plate copper sleeve, Colin column, and add lubricating oil.
(2): Improper adjustment of the speed and pressure of mold opening and locking. When the flow rate is set to 20 and the pressure is 99, the second mold clamping plate should not crawl. Adjust the flow proportional valve hole or pilot valve hole, and adjust the linear current value of the proportional valve.
(3): There is air and exhaust in the pipeline and cylinder.
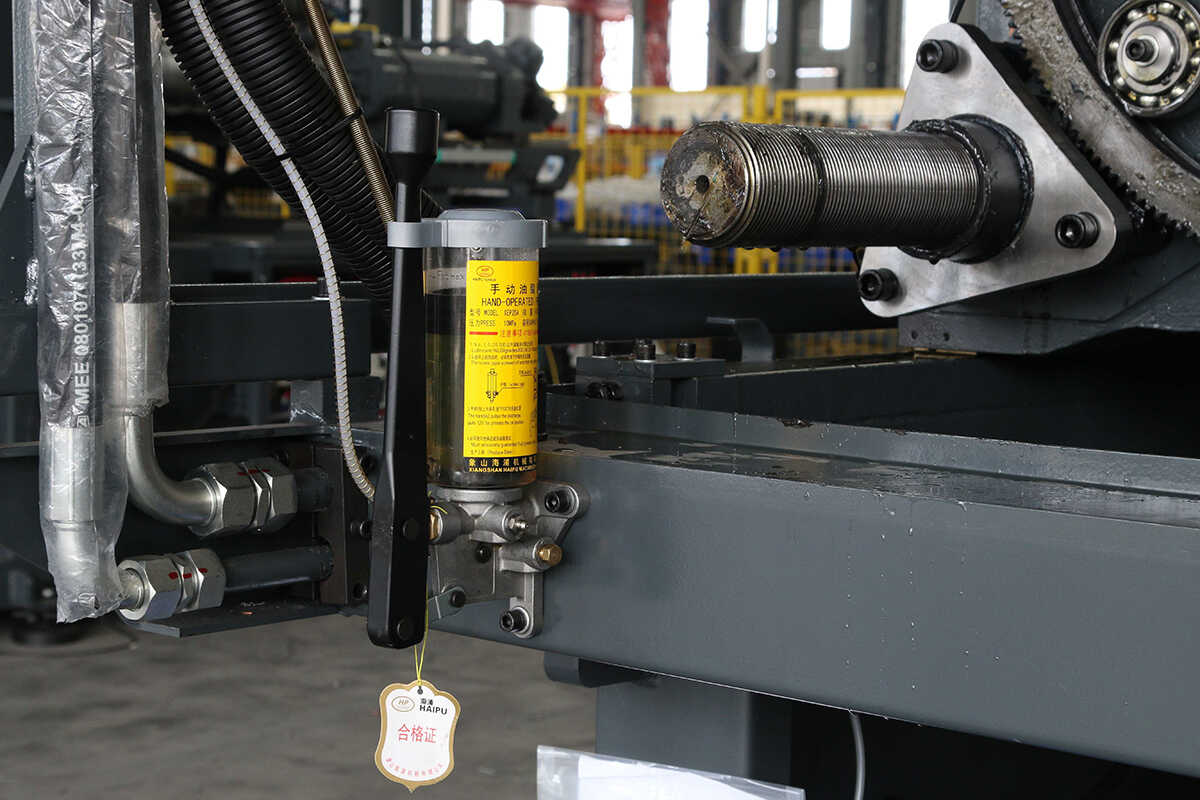
15. The squeezing sound of the injection molding machine opening and closing the mold
Approach:
(1): Check whether the lubricating oil pipe is broken, otherwise there is no lubricating oil to the machine, and reconnect the oil pipe.
(2): The amount of lubricating oil is small, increase the amount of lubricating oil, and it is recommended that 50 molds be oiled once.
(3): The clamping force is large, check whether the mold needs a large clamping force, and reduce the clamping force.
(4): The current is chaotic, check whether the current parameters meet the acceptance criteria, and re-adjust the current value.
(5): If the parallelism is out of tolerance, use a dial indicator to check whether the parallelism of the first and second plates is greater than the acceptance standard; adjust the parallelism.
16. Countermeasures for the non-clamping of the injection molding machine
Approach:
(1): Check the travel switch in front of the safety door. and repaired.
(2): Check the 24V5A power supply, and replace the fuse and power box.
(3): Check if the valve core is stuck and clean the valve core.
(4): Check whether the I/O board has output and whether the solenoid valve is electrified.
(5): Check whether the hydraulic safety switch is pressed.
17. Problems and solutions for the failure of the mold adjustment part of the injection molding machine
Approach:
(1): Mechanical level and parallelism are out of tolerance. Check with a spirit level. Adjust parallelism and level.
(2): The gap between the pressure plate and the die-adjusting nut is too small. Measure with a feeler gauge. Adjust the gap between the pressure plate and the nut, and the gap between the die adjustment nut and the pressure plate (gap ≤ 0.05mm).
(3): Burning the nut: Check whether the nut can be rotated. Replace nuts.
(4): Adjust the upper and lower support plates. Remove the bracket lock nut for inspection. Adjust the upper and lower support plates.
(5): The I/O board is broken. Check if there is a signal at the output point on the computer page. Repair electronic boards.
(6): The mold adjusting valve core is stuck. Remove valve for inspection. Purge valve.
(7): The mold adjusting motor is broken: check the oil motor. Replace or repair oil motor.
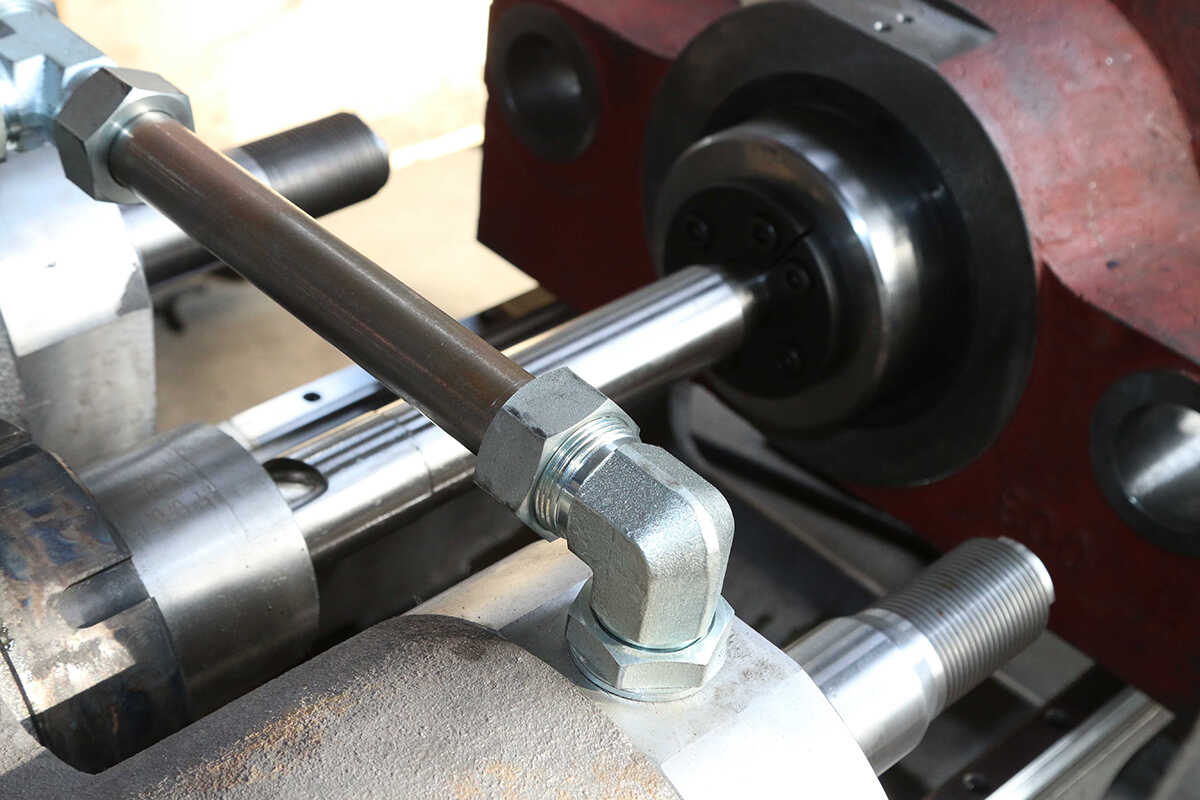
18. The solution to reduce the fracture of Colin column by injection molding machine
1. In the design, it is necessary to avoid the sharp change of the shaft diameter. At the step or the undercut, try to use a large fillet to transition, and choose a material with better comprehensive performance. The special treatment should not only solve the surface hardness of the thread (wear resistance) To try to reduce the surface stress concentration, to improve the surface finish, to minimize stress damage.
2. To ensure the accuracy of tightening, especially the length of the connecting rod, the height of the bearing seat, the accuracy of the cross head, the positioning accuracy of the bearing seat on the template, etc.
3. Special attention should be paid to the length of the four support rods during assembly or after dismantling the die-adjusting nut, and the distance between the die-adjusting nut and the rear template should also be adjusted well.
4. When the product has flash, it is necessary to analyze the cause, and do not unilaterally increase the clamping force. If the mold is found to be uneven, it should be smoothed. If the length of the connecting rod is uneven, it should be corrected, including copper pads, paper, etc. Or correct the die adjusting nut.
The above solutions can only play a certain role, and may not be able to solve the problem from the root, and some measures will increase the manufacturing cost, such as increasing the diameter of the tie rod, using good materials, etc., so it depends on the manufacturer's choice to some extent. For the use of full hydraulic mold clamping structure, it is a better choice to solve the broken tie rod. However, due to the problems of slow speed and high energy consumption in the traditional hydraulic type, after the manufacturer weighed it, the toggle lever type is still the main type of small and medium-sized machine. It was not fundamentally solved until the emergence of the SUDA two-platen injection molding machine.
Welcome to Suda Group, ISO9001 Certified
18 ways of Injection molding machine maintenance