Daily maintenance of injection molding machine
Section 1 Routine Maintenance Requirements
In order to achieve machine performance and prolong service life, the machine should be checked regularly and repaired accordingly. The oil sealing ring, rubber ring, etc. of the machine will be damaged naturally over time. If it loses its function and leaks oil, it only needs to be replaced according to the specifications.
If the machine has been stopped for a long time, or when different plastics need to be injected, the remaining rubber in the melt tube must be removed first.
Maintenance and inspection of hydraulics
The hydraulic device is composed of precise hydraulic components. After a long period of operation, the pressure oil is unavoidable from pollution, which may cause the oil to contain metal powder, oil seal fragments, sludge and other pollution and solid substances. In fact, more than 70% of the failures of hydraulic devices are related to the pressure oil.
The hydraulic components are caused by dirt to block the valve core. The reasons for this are as follows:
In the process of adding new pressure oil, since the pressure oil enters the oil tank of the injection molding machine through the oil delivery pipe, it is easy to bring in a lot of metal and rubber particles.
Due to the wear of hydraulic components such as oil pumps, hydraulic motors, directional valves and pump cores, particles easily enter the hydraulic system with the pressurized oil, thereby causing pollution.
In order to ensure the normal operation of the hydraulic system and reduce failures, the air filter, oil filter and cooler of the pressure oil must be maintained and inspected.
Inspection of pressure oil
Within six months of using the pressure oil, 100C.C. of pressure oil should be drawn from the oil tank and sent to the laboratory for inspection. If the pressure oil is found to have deteriorated, it should be replaced immediately. Please replace the pressure oil within 3 months of running the new machine. Then change the pressure oil once a year. If for some reason, it cannot be sent for testing, you can refer to the following methods for testing:
Take a sample of the pressure oil from the fuel tank, and observe the color of the pressure oil after pulling it out. If it is found to be milky white, air or water may be mixed in the pressure oil.
At this time, the pressure oil should be placed in the room and observed every other day. If the pressure oil has become clear, it means that the air is mixed into the oil, and the leakage of the hydraulic system should be found out; The system has been mixed with water; if it is milky white, it means that the water has been mixed with the pressure oil for a long time, and the new pressure oil must be replaced. Check the condition of each hydraulic component and find out the way of water mixing. Usually caused by the rupture of the cooler.
Using filter paper or toilet paper, the pressure oil can also be checked for moisture or impurities. Drop a sample of the pressure oil on filter paper or toilet paper. If the pressure oil contains water, because the water diffuses faster, the water content in the pressure oil can be identified (comparison with the new pressure oil).
Pour the pressure oil through the filter paper and let the filter paper stand for several hours. If the pressure oil has deteriorated or contains impurities, black marks or impurities will appear in the central part of the filter paper. (The above method for checking the pressure oil is for reference only, and it is recommended to send it for testing).
When replacing the pressure oil or replenishing the pressure oil, pay attention to the following matters
The added pressure oil must be exactly the same as the pressure oil in the system.
After different pressure oils are mixed, a chemical reaction will occur, affecting the quality of the pressure oil.
If the pressure oil decreases for no reason, the reason should be found out first, and then supplemented.
When replacing the pressure oil, all the oil in the oil tank should be pumped out. Also clean the inside of the tank.
Every time the oil is changed, the oil filter should be cleaned first.
The hose used for adding pressure oil must be kept clean.
When adding pressure oil, it cannot be directly added to the fuel tank, it should be added after filtering through a filter.
Do not use a rag for cleaning, as the remaining hair will clog the filter element of the oil filter.
1.2 Checking the air filter
On the top cover of the fuel tank, an air filter that doubles as the oil inlet of the pressure oil is installed, which makes the air in the fuel tank easy to enter and exit according to the change of the oil level in the fuel tank. After each addition or replenishment of pressure oil, please take out the filter and put it on the container, wash it with gasoline and then dry it with compressed air. If not cleaned, it may cause dirt to enter the fuel tank.
1.3 Oil filter inspection
After the machine starts running for 2 weeks, please take out the oil filter for cleaning, and clean it every three months to keep the oil suction pipe of the oil pump unobstructed. If the filter element on the oil filter is blocked by an object, it will cause the oil pump to make noise.
Oil filter cleaning steps:
1) Open the fuel tank cap and take out the oil filter.
2) Put the oil filter on a container, add some gasoline, wash the filter element with a brush, and then dry the inner and outer parts of the filter element with compressed air.
3) Reinstall the oil filter and put it back on the fuel tank cap.
1.4 Inspection of the cooler
After the cooler is used for a period of time, the scale will adhere to the inner wall of the cooling pipe of the cooler, which will reduce the heat transfer efficiency and cause the pressure oil to rise. Therefore, the cooler should be cleaned every 6 months.
Cooler disassembly and cleaning steps:
1) Make sure that the pressure oil in the fuel tank has been completely pumped out.
2) Make sure that the sluice system of the cooling water supply is closed.
3) Put the container on the connection part of the pressure oil and the cooling water, so that it is convenient to hold water and oil when the oil pipe and water pipe are dismantled.
4) Remove the cooling water pipe and pressure oil pipe on the cooler.
5) Remove the screws fixing the cooler on the machine.
6) Drain all the pressure oil and cooling water in the cooler.
7) Loosen the fixing screws of the outer covers on both sides of the cooler, and take out the outer covers.
8) Take out the copper cooling pipe and the blocking plate.
9) Use a copper brush to clean the inner and outer parts of the hot copper tube.
1.5 Influence of temperature on pressure oil
When injection molding, the temperature of the pressure oil is best kept at 30 to 50 degrees Celsius. If the pressure oil temperature is too high, the following phenomena may occur:
1) Oxidation is accelerated and the quality of the pressure oil deteriorates;
2) The reduction of the pressure oil concentration may lead to the reduction of the lubrication function, and the oil pump and the oil switch are easily damaged;
3) The oil sealing ring is easy to harden and reduces the oil sealing function.
2. Maintenance and inspection of lubricating oil
The clamping part is an important lubricating place, including large and small hinge edges, sliding feet and guide rods. Due to the continuous reciprocating friction for a long time, such as lack of proper lubrication, the parts will wear out quickly, which directly affects the performance and quality of mechanical parts.
To ensure that the lubrication system is functioning properly, check the following points:
1) Under normal use conditions, it is recommended to set the parameters for lubrication, and drain oil for 3-5 seconds every 10 injection cycles.
2) Every four months or 500,000 cycles, it is necessary to replace the lubricating oil and clean the oil return, oil suction filter element and oil tank.
3) Under normal use, the oil storage will gradually decrease, and the oil storage needs to be checked every week.
4) Regularly check whether the motor operates normally.
5) The oil tank and lubricating oil should be kept clean and avoid mixing of lubricating oil and water. If there is water, please take out the throat plug of the oil drain hole at the bottom of the fuel tank to drain the water.
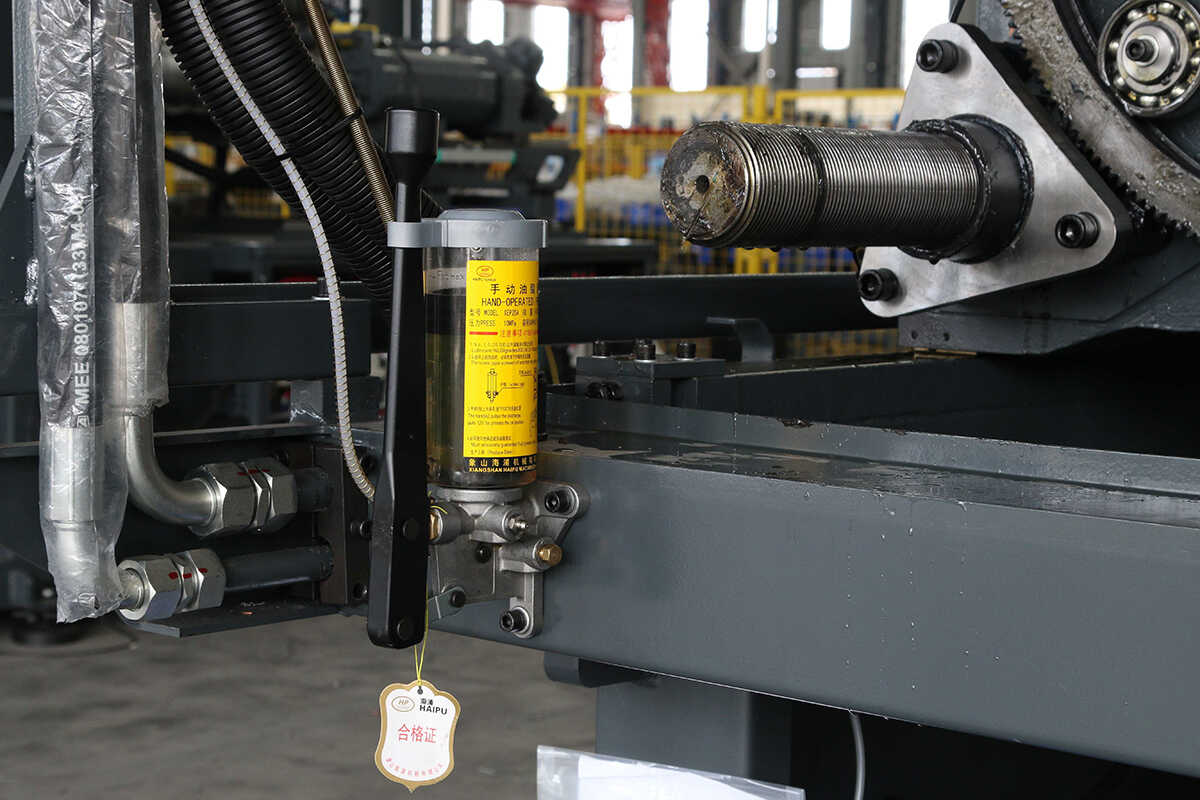
6) In addition, adjust the die wire mother, Colin column copper division, sliding foot, drive shaft of the melting motor, front and rear (T groove) guide rails of the injection table, and bearings of the electric motor all use grease nozzles (grease nozzles). Carry out the work of adding lubricating grease (butter), it is recommended to once a month.
Note: Do not use pressure oil as lubricating oil, because the viscosity of the two is different. If used to save costs, it will cause the hinge to wear.
3. Maintenance and inspection of the clamping device
The moving or rotating parts of the clamping structure are prone to wear due to the lack of lubricating oil. If you can pay attention to the supply of lubricating oil to the rotating parts of the clamping structure, and pay attention to the fixed screws or nuts, the lock will not be blocked. Damage or failure of the mold portion is thus reduced. In addition, the following points should be noted:
1) Sufficient lubricating oil can prevent the wear of the hinge part.
2) Always check whether the lubricating and transparent throat of the centralized lubrication system of the machine hinge is smooth and whether there is any breakage or damage.
3) Regularly check whether there is bad wear on the hinge part of the machine, and whether there is iron powder seeping out.
4) Keep the sliding foot guide of the moving template clean and lubricated.
5) Keep the surface of the four Corinthian columns clean.
6) Do not use bad molds, which will wear the machine hinge and cause the Colin column to break.
7) Do not use too high clamping force, it will cause unnecessary deformation of the mold and cavity. It will also lead to shortened or damaged life of machine hinges, molds and Collin columns.
8) Do not use a mold that is too small, a mold that is too small will cause high bending stress on the template, and long-term use will cause the template to burst.
4. Maintenance and inspection of the melt cylinder
The following points should be noted:
1) Do not activate the melting motor to melt the glue when the glue barrel does not reach the preset temperature.
2) When using the reverse cable, make sure that the plastic in the melt has been completely melted, otherwise the plastic head set or the components of the transmission system will be damaged when the screw retreats.
3) Except plastics and plastic additives, do not put anything else into the hopper. If a large number of nozzle materials are used, a hopper magnet should be added to prevent metal fragments from entering the melt tube.
4) When assembling and disassembling or replacing the nozzle, the rubber ring, the glue meson, and the fixing screws on the head, it is necessary to apply a layer of high temperature resistant lubricating oil. .
5) When using (P.V.C, P.C.M) and other plastics, please inject all the plastics in the melt tube before each shutdown, and then use PE, PP plastic to clean the melt tube.
6) When the temperature of the melt cylinder is normal but black spots or discoloration of the melt are continuously found, check whether the injection screw, the rubber plug ring and the injection meson are worn.
7) Periodically check whether the screws on the injection piston rod are loose.
5. Maintenance and inspection of other devices
5.1 Inspection of electric motors
1) Generally, the electric motor uses air cooling to dissipate heat. Too much dust accumulation will cause heat dissipation difficulties. The dust around the outer casing and the fan blades should be cleaned once a year.
2) When the electric motor makes abnormal noise, check whether the bearing is worn, and replace it immediately if worn.
3) Use a 500V megger to measure whether the insulation resistance of the coil is above 1MΩ.
5.2 Inspection of Die Thickness Adjustment
The mold thickness adjustment device should be used regularly to adjust the template back and forth from the thickest to the thinnest to ensure smooth operation. If the machine produced by the same mold is used for a long time, this inspection is necessary to avoid failure during mold adjustment, and at the same time, apply lubricating grease (butter) to the mold adjustment gear and chain.
5.3 Inspection of core pulling/twisting device
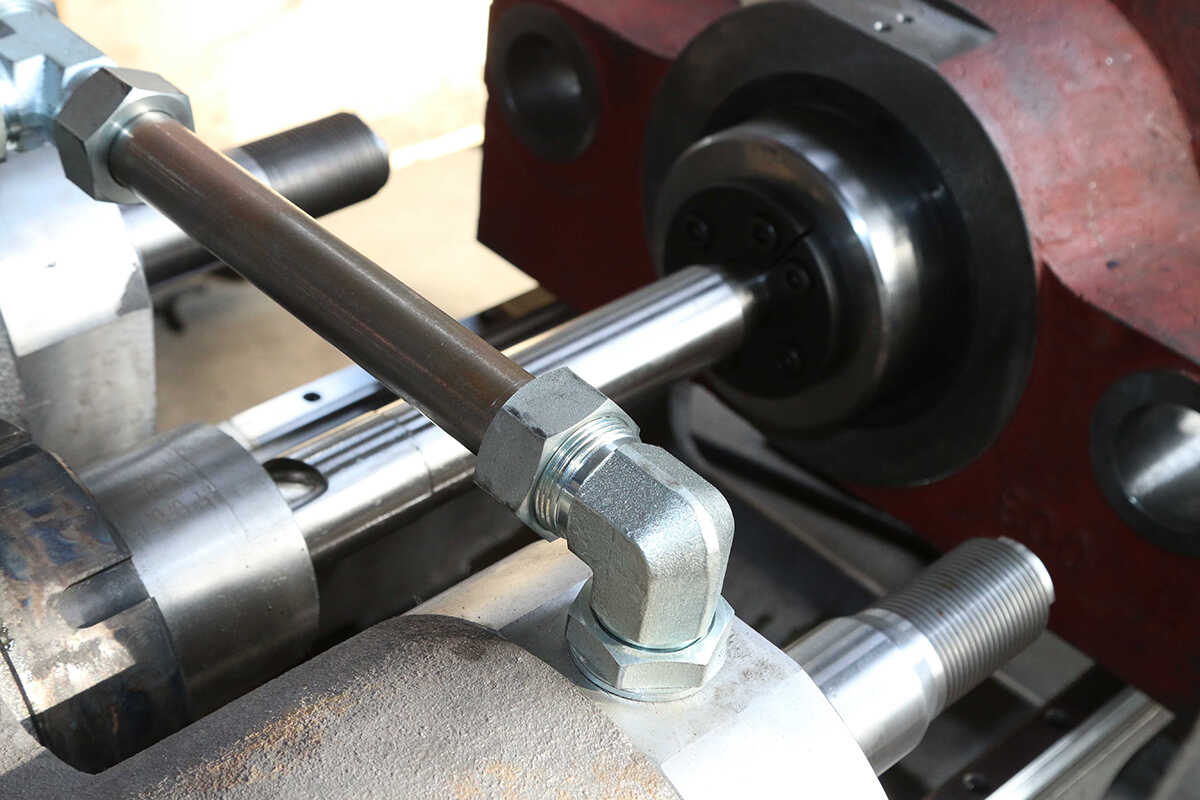
1) Check the pressure hose for damage to the outer skin.
2) Check whether the nozzle of the pressure throat is loose.
Section 2 Regular Inspection and Maintenance
In order to ensure the normal operation of the machine and reduce the occurrence of failures. Maintain high machine performance, longevity, safe operation and reduce downtime due to failures. Periodic maintenance checks must be carried out on the machine. Maintenance inspection can be divided into daily, weekly, monthly, semi-annual and annual inspections.
daily check
1) Make sure that the emergency stop button can cut off part of the motor power of the oil pump.
2) Keep the injection molding machine and the surrounding area clean.
3) Check whether the temperature needle and heating tube are operating normally.
4) Check whether the clamping can be terminated when the safety door is pulled open. Test with manual and fully semi-automatic operation clamping respectively.
5) Check whether the mold is firmly installed on the clamping head plate and the moving template.
6) Check whether the cooling water pipes are leaking, and tighten the leaking pipes.
7) Check that all covers are securely installed on the machine.
8) After starting for a period of time, check whether the oil temperature rises above 50 degrees Celsius. Check the temperature of the cooling water supply for cooling, the oil temperature should be kept at 30-50 degrees Celsius.
9) Check whether the mechanical safety lock operates normally.
weekly check
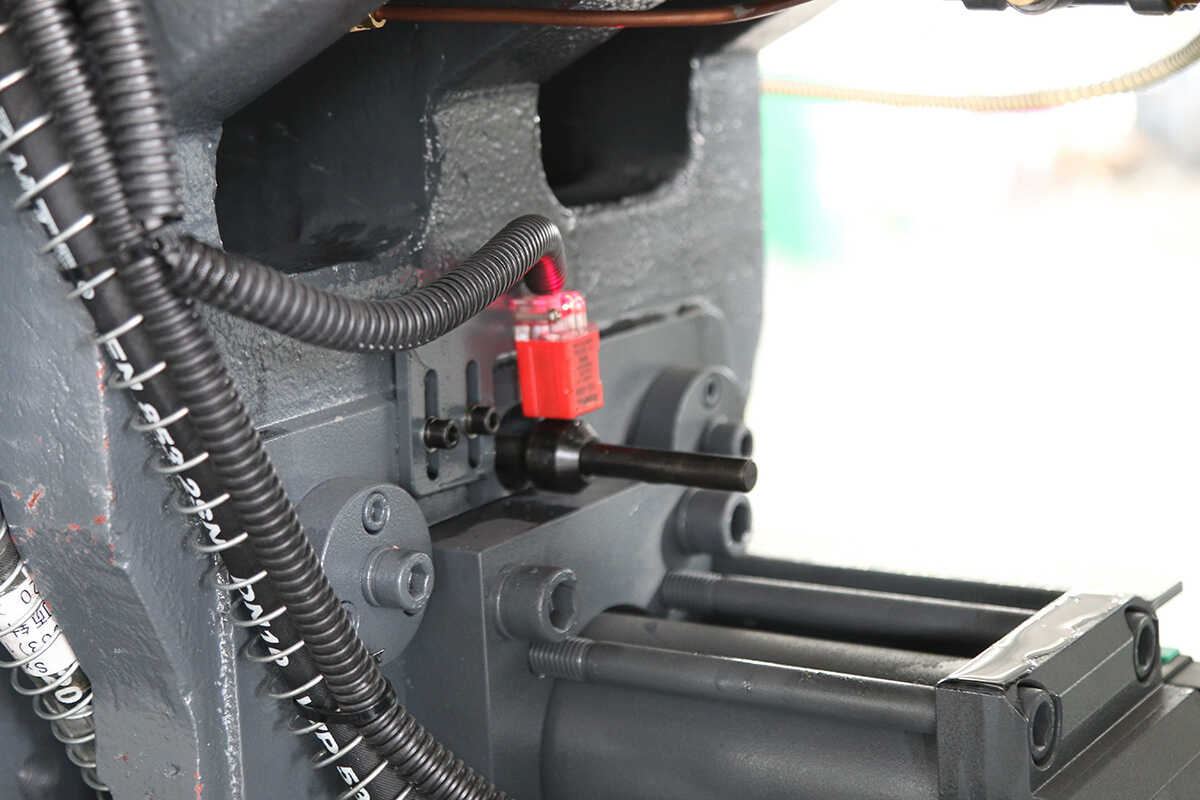
1) Check whether each lubrication hose is broken or damaged.
2) Check whether the pulleys of each safety door limit card are worn.
3) Check whether the screws of each movable component of the machine are loose, and re-tighten them if so.
monthly inspection
1) Check whether the electrical components and wiring are loose, and re-tighten them if so.
2) Check whether the working pressure of the hydraulic system is too low or too high.
3) Check whether there is oil leakage in all parts of the whole machine. If there is, tighten the oil pipe joint of oil leakage or replace the oil seal of the damaged oil pressure component.
4) Check whether the system pressure gauge is operating normally.
quarterly inspection
1) Check whether the installation of each galvanic wire and heating tube is firm.
2) Check whether the installation of each electronic ruler and proximity switch is firm.
3) Check the linear ratio of speed and pressure, and readjust if necessary.
4) Re-check the center of the nozzle.
Check every six months
1) Check whether the contacts of the relays and electromagnetic contactors inside the electric box are aging, and replace them with new ones if necessary.
3 Check whether the wires inside the electric box and outside the fuselage are firmly connected.
4 Clean the inner and outer walls of the copper pipes of the cooler.
5 Check whether the four Corinth thread nut on the clamping head board are firmly installed and are not loose.
annual inspection
1) Check whether the fixing screws of the safety mechanism are tightened.
2) Clean the inner and outer walls of the copper tubes of the cooler.
3) Clean around the inside of the fuel tank.
4) Clean the dirt on the oil filter and clean the dust on the air filter.
5) Check whether the pressure oil needs to be replaced. Take a sample of the pressure oil and send it to the test. If the pressure oil is deteriorated, it must be replaced with a new oil.
6 Clean the dust on the surface of the fan blades and the outer casing of the motor, and inject lubricating grease on the bearings.
7 Check the exposed wires of the fuselage, if damaged, they must be replaced.
8 Check whether there is any noise in the bearing combination of the hydraulic motor, re-fill the lubricating grease or replace the new bearing.
9 Recheck the body level.
10 Recheck the parallelism between the clamping head plate and the moving platen.
Welcome to Suda Group, ISO9001 Certified
Daily maintenance of injection molding machine